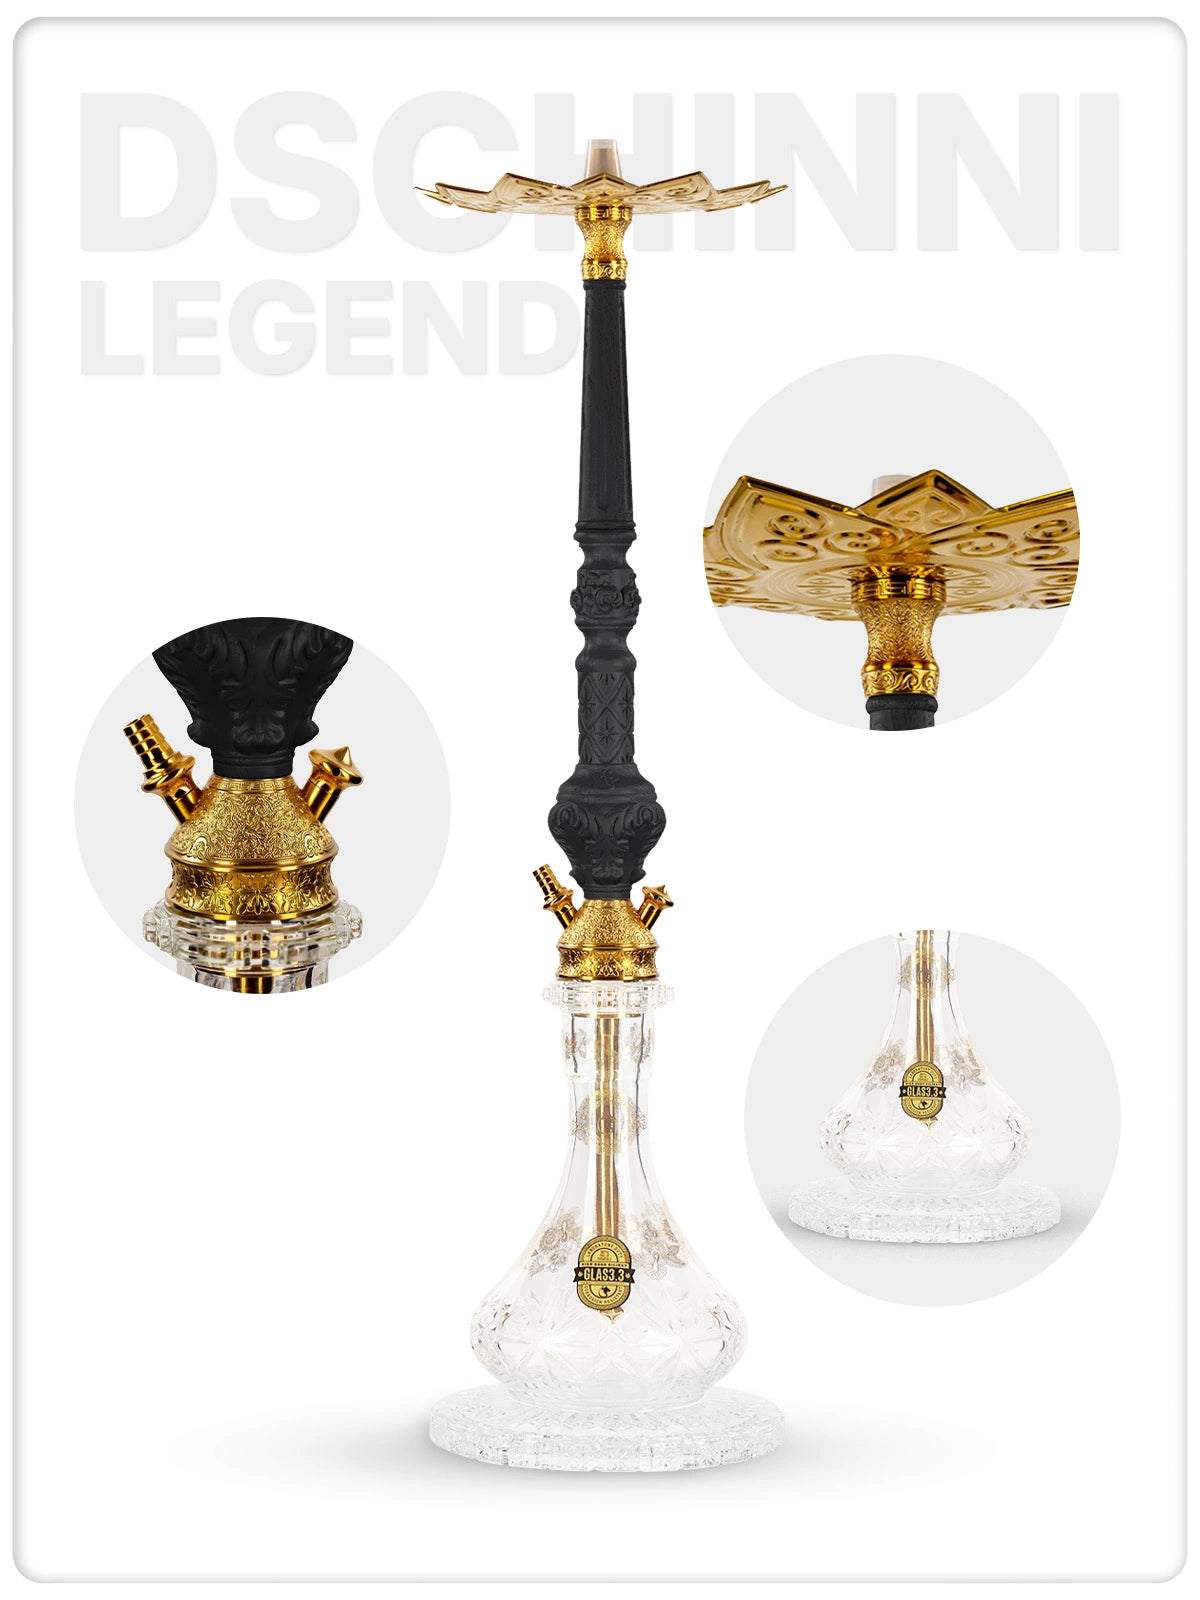
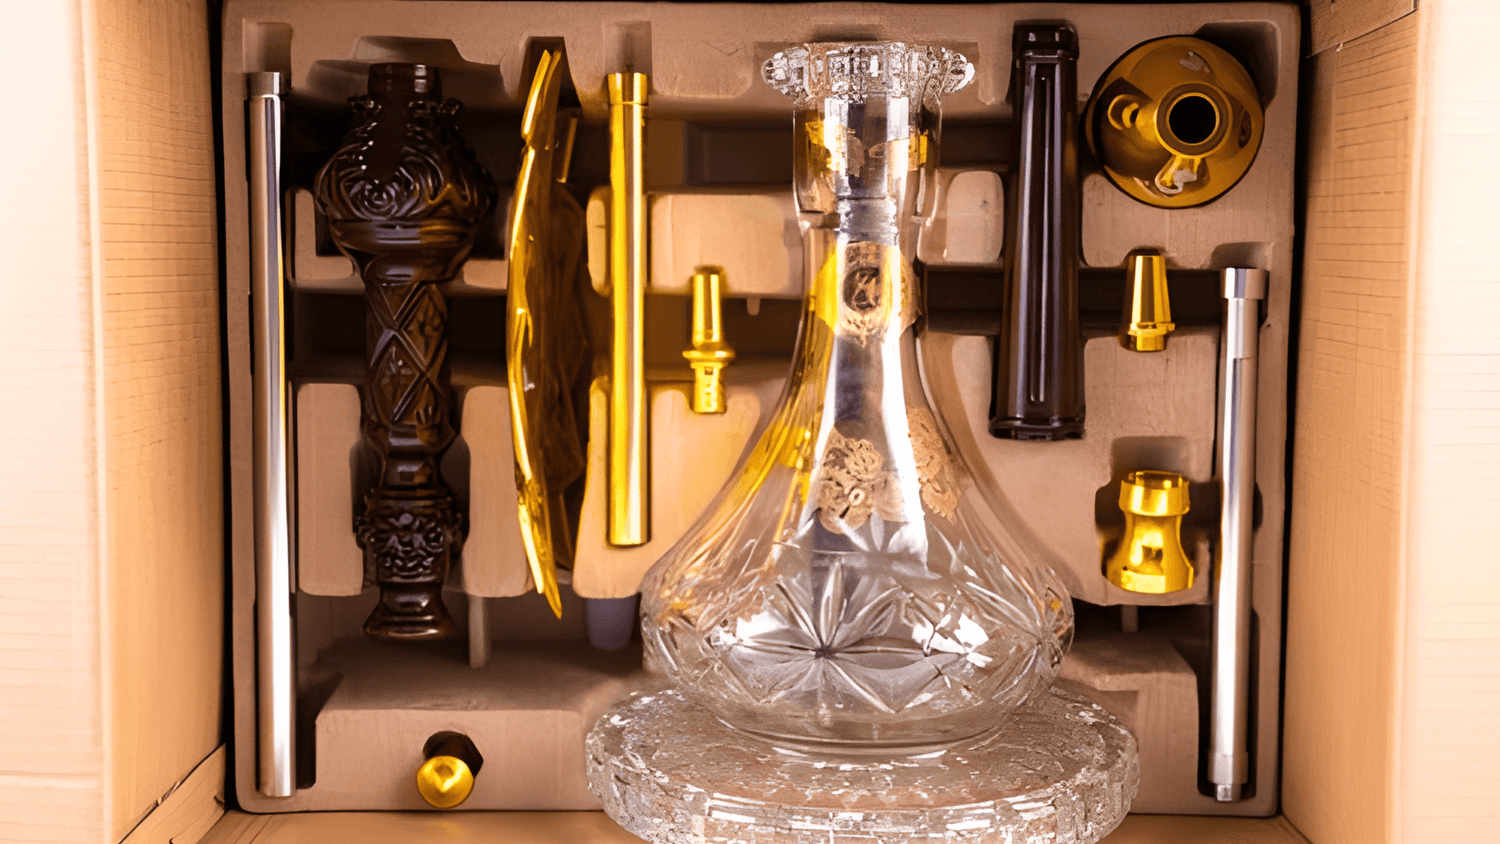
Have you bought a shisha and are now about to assemble it? Don't worry, even if you're a beginner, you'll easily become a shisha assembly expert with these detailed instructions. Below we will explain the individual steps for setting up your hookah so that you can quickly and easily move on to the fun part: enjoying aromatic shisha tobacco .
Basic knowledge for setting up a shisha
Setting up a shisha is like a small ritual and is easier than you think, even if the included instructions leave a lot to be desired. The shisha usually consists of these components:
- Fireplace attachment : It sits enthroned on the shisha and holds the glowing coals .
- Clay head : The centerpiece into which the tobacco is filled.
- Coal plate : Ash and embers that fall from the coal block end up here.
- Column of smoke : It connects the world of tobacco with that of water.
- Base : The connector where everything comes together, including hose attachments.
- Silicone hose : Use this to draw in the smoke.
- Dip tube : It leads the smoke into the water of the bowl.
- Bowl : The bulbous glass container that allows smoke to be cooled via the water.
The shisha structure: explained step by step
1. Preparation : Unpack all the items and organize them to keep track of everything.
2. Base assembly : Start with the base to which you attach hose adapters and valves.
3. Attach the smoke pipe : Place the smoke column on the base using the threads or plug-in connections.
4. Attach water pipe : Attach the water pipe to the bottom of the base.
5. Connect base and bowl : Insert the base with the attached pipes into the bowl and make sure that the water pipe is immersed optimally. Now attach the base.
6. Position the charcoal plate : Place the charcoal plate on the smoke column. Depending on the model, you can now also use a molasses catcher .
7. Place the sound head : The sound head finds its place on the smoke column.
8. Mount the hoses : Guide the hoses to the base using brackets or springs.
9. Completion : Voila, your shisha is assembled!
Valuable additional tips
- Molasses Catcher : This useful accessory keeps your hookah clean by catching excess tobacco juice.
- Hose holder : A holder ensures that the hose is out of the way when you are not using it.
- Video Instructions : Sometimes it helps to follow a visual guide in addition to reading instructions.
Conclusion
Assembling your shisha is a breeze if you follow the steps in our instructions. Always remember to assemble all components carefully and firmly to enjoy an optimal and safe smoking experience.
Answers to frequently asked questions
- Model independence : Most hookahs follow the same construction principle.
- Cleaning Frequency : Clean your shisha after each use for a flawless smoking experience.
- Charcoal plate function : It protects against ash and embers in the smoke column.
- Hose Options : As long as the hose is compatible, you can use alternatives.
- Beginner Tips : Follow the instructions meticulously and consult video tutorials.
With these instructions and the additional tips, you are well equipped to assemble your shisha professionally and safely. Enjoy the relaxation and aroma that a well-built hookah offers.


Leave a comment
All comments are moderated before being published.
This site is protected by hCaptcha and the hCaptcha Privacy Policy and Terms of Service apply.