

Have you ever wondered if winding coils for your e-cigarette is really just for professional vapers? Let me prove you better: Anyone can learn how to wind coils themselves, and the benefits are obvious. This tutorial is aimed at all vaping enthusiasts – from cloud chasers to flavor hunters – who are ready to take their vaping experience to the next level while saving money and protecting the environment.
Why self-wrapping is worth considering:
Cost savings
Making your own coils is far more cost-effective than buying pre-made atomizer heads. With a small piece of wire and the appropriate wick material, the material costs are in the cent range.
Longer lifetime
Once you've mastered winding, self-wound coils last longer than ready-made coils and can be used multiple times by simply changing the wick.
Individuality and independence
Self-wound coils offer incomparable freedom to design the vapor development, the taste and the intensity of the flash according to your own ideas.
More intense taste
Many vapers report an improved taste experience thanks to self-wound coils.
Environmentally friendly
Less waste means less environmental impact.
Choosing the right self-winding vaporizer:
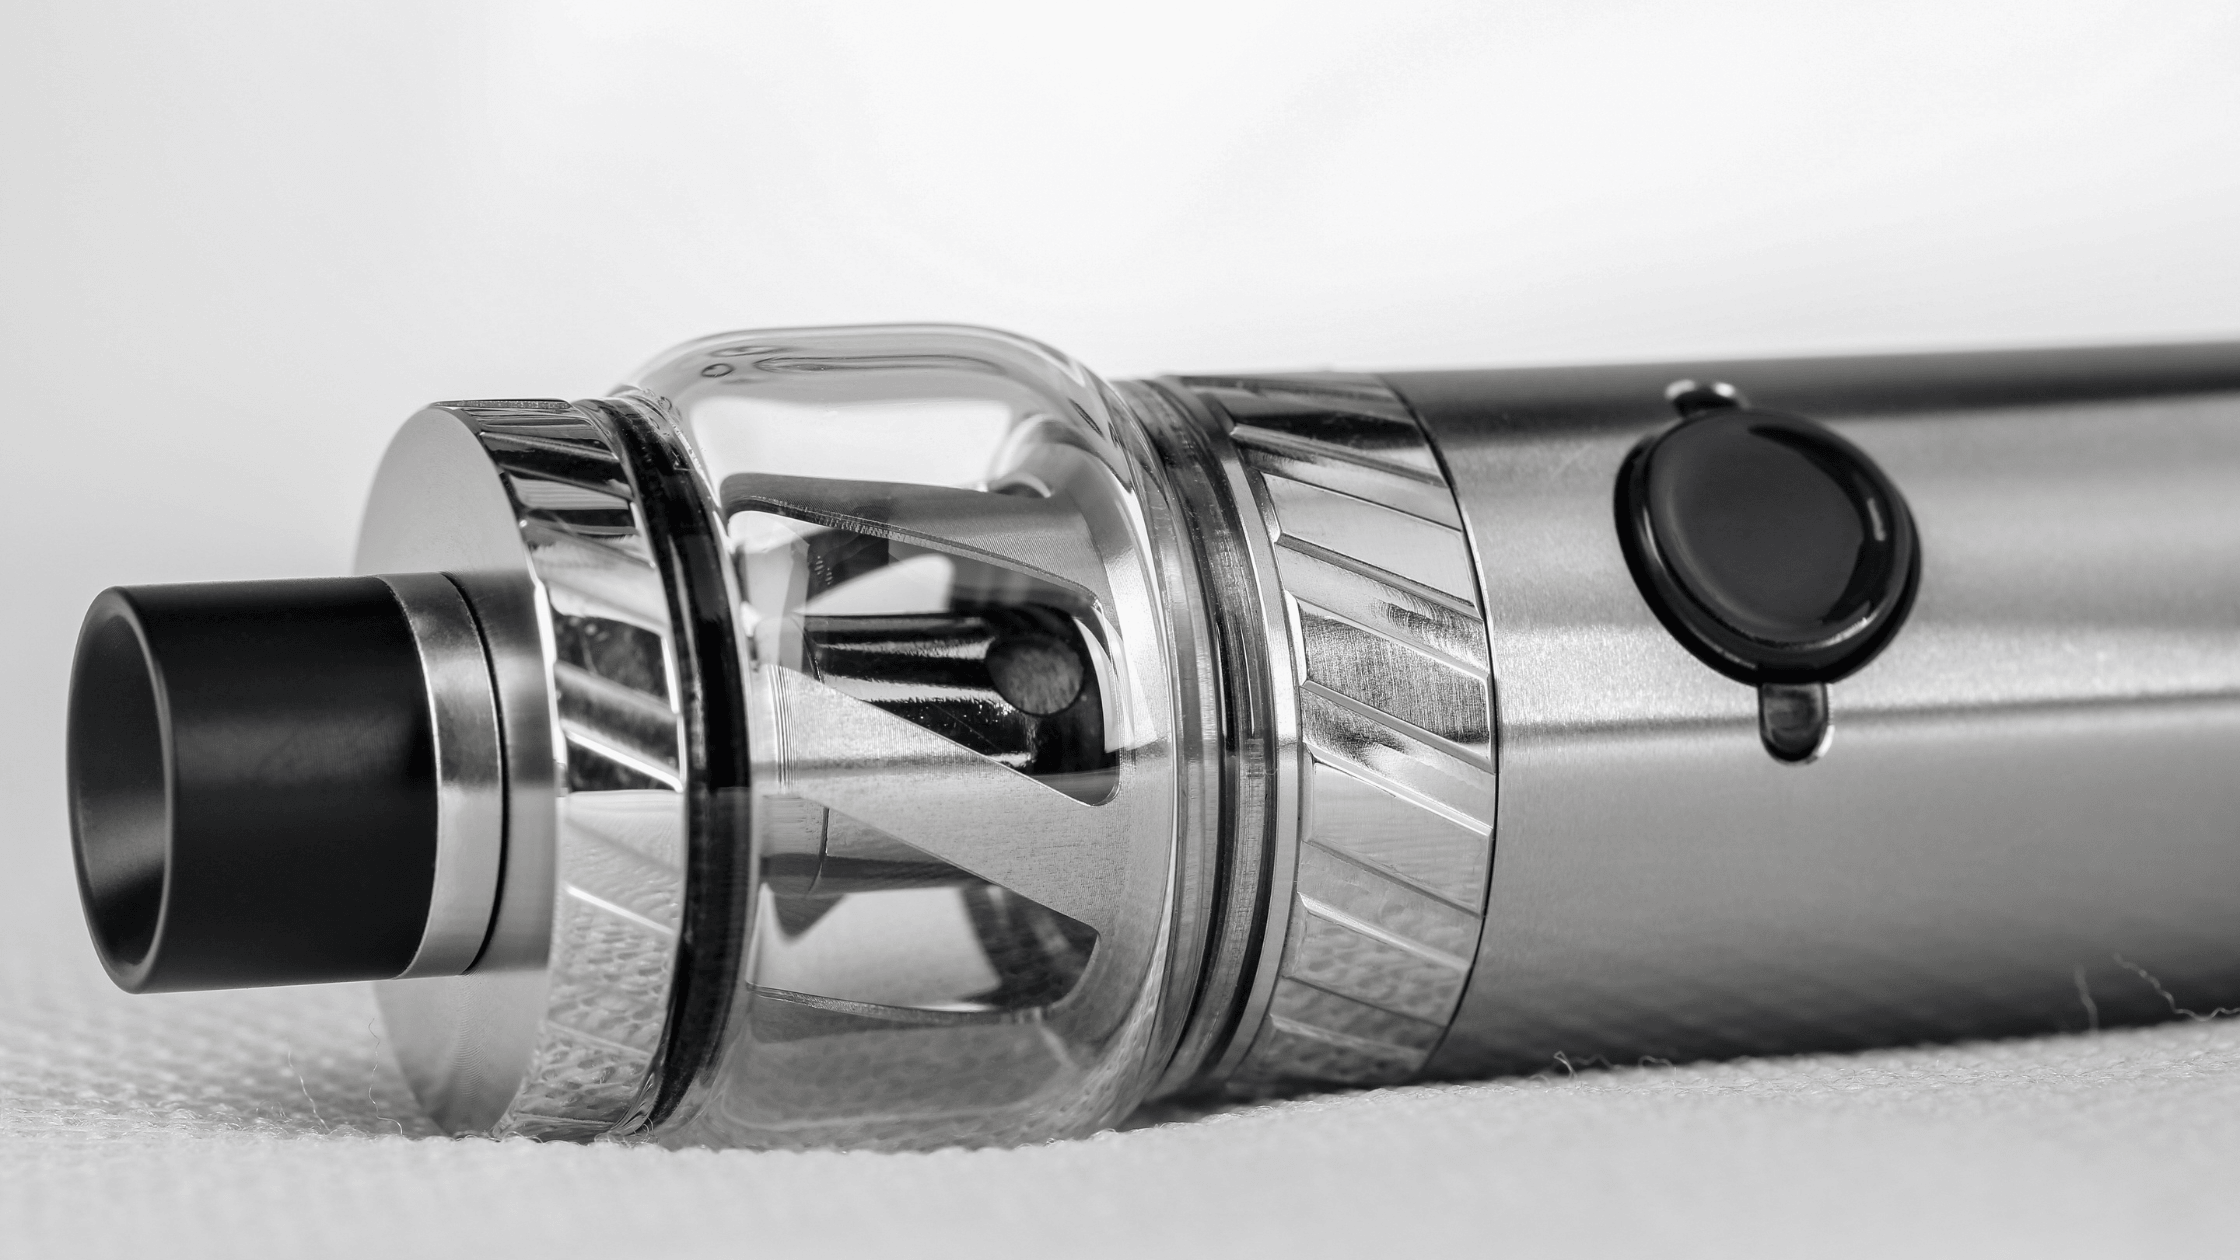
RTA, RDTA, RDA or RBA
There are different types of self-winding vaporizers, from tank systems to drippers. Each type has its own advantages and is suitable depending on your level of experience and preferences.
Required components and tools:
Wrapping wire and wicking material
From Kanthal to NiChrome to stainless steel - the choice of wire and wicking material such as cotton or silicate cord has a direct influence on resistance and flavor development.
Tool set
Special tools make changing diapers easier, but are not a must. A good kit includes everything you need to get started.
Step-by-step instructions for wrapping yourself:
Preparation of the wire
Clean winding starts with washed hands and the right wire. Calculate the resistance and turns for your perfect heating coil in advance.
Installation of the heating coil
Position the coil correctly on the base deck of the evaporator and secure it.
Annealing of the winding
Annealing removes manufacturing residue and helps ensure even annealing distribution.
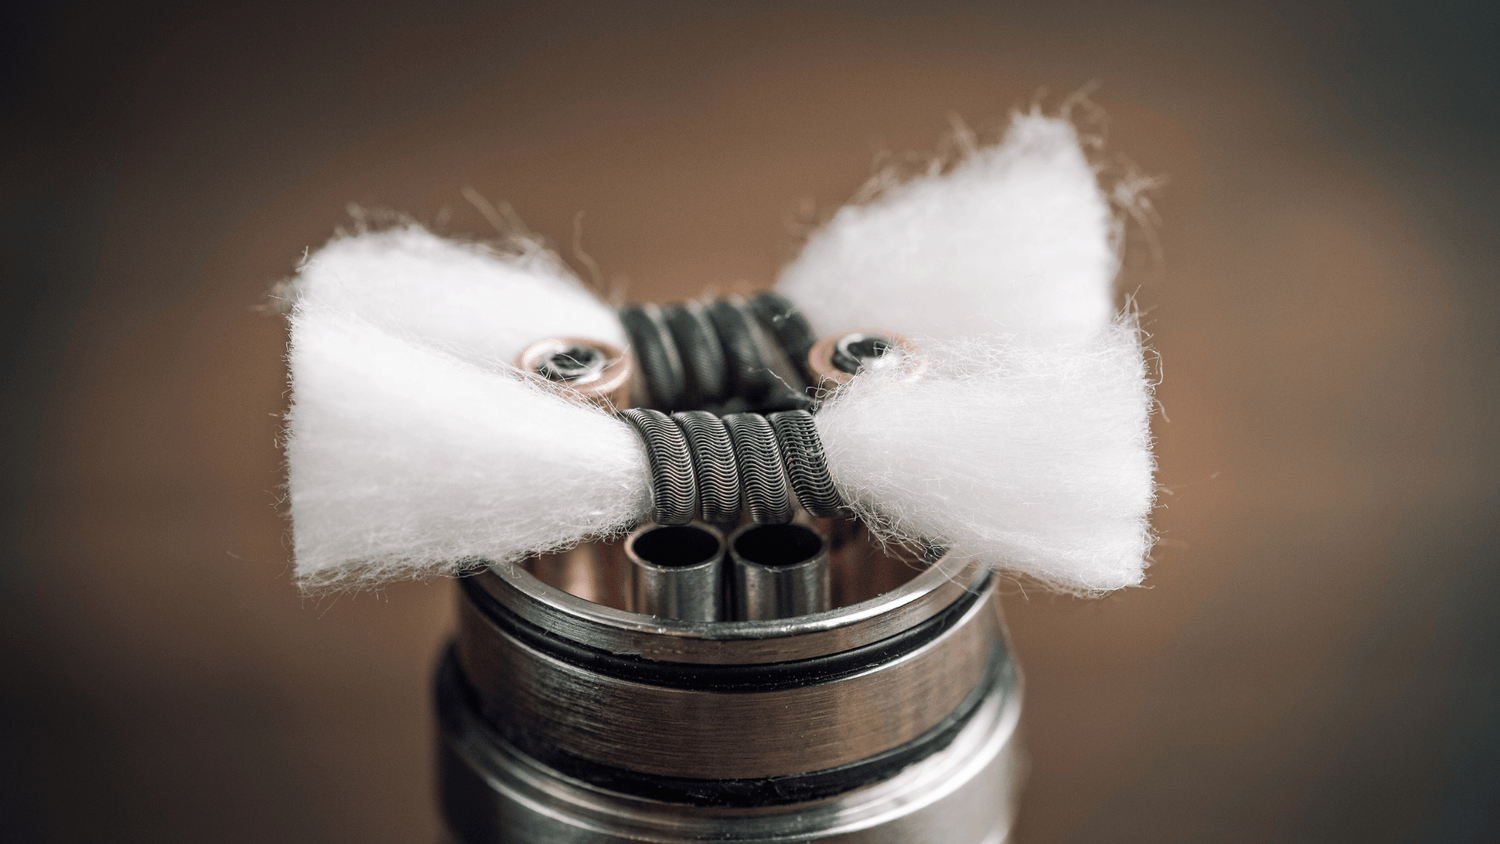
Threading the cotton
The cotton should be pulled evenly through the coil and placed appropriately at the ends.
Conclusion:
Whether you are an experienced vaper or just starting out, winding coils yourself can greatly enrich your vaping experience. This tutorial will provide you with all the information you need to master and enjoy this skill. And if you still need materials or tools, our online shop offers everything you need to get started. Discover the world of self-winding and adapt your steam experience to your wishes!


Leave a comment
All comments are moderated before being published.
This site is protected by hCaptcha and the hCaptcha Privacy Policy and Terms of Service apply.